 button and select the
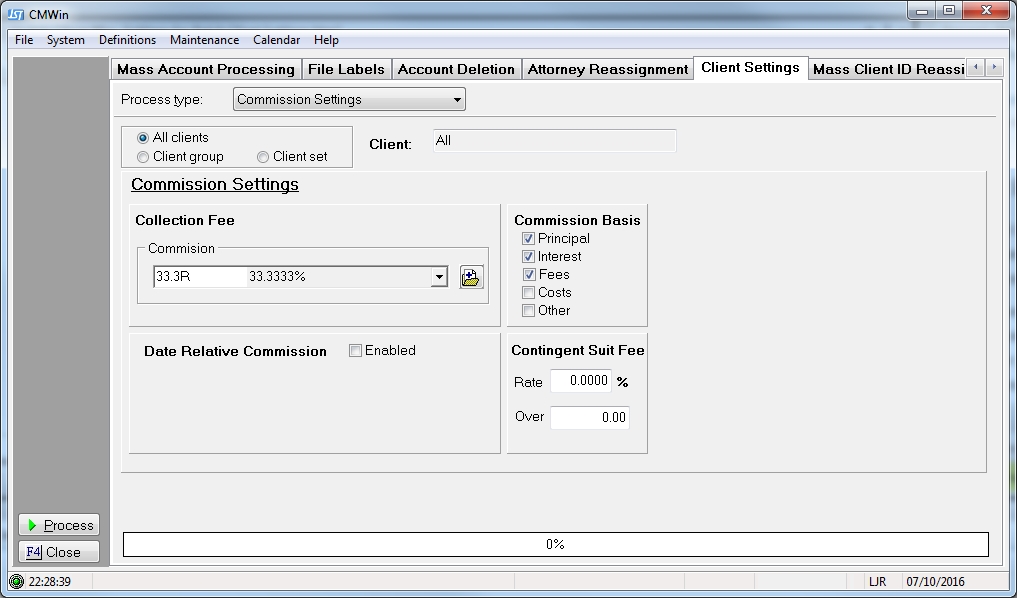
  tab to display the Batch Client Settings Screen.
 This feature will allow you to set the History and Image Email Settings by Batch Process.
Note: This is a Version 8 Feature. For information on obtaining this or any other feature, please contact the Sales Department
From Main Screen of CollectMax, click the button and select the tab to display the Batch Client Settings Screen.
Select  the History Email Options from the Process Type list.

Select to set the settings for All Client, a Group or a Set.
Note: If selecting All Clients, you do not need to do a Batch Process. See History Email Options for how to set the default email settings.
To modify the Subject Line of the Email, click the  button next to Subject to display the Email Subject Edit Screen.
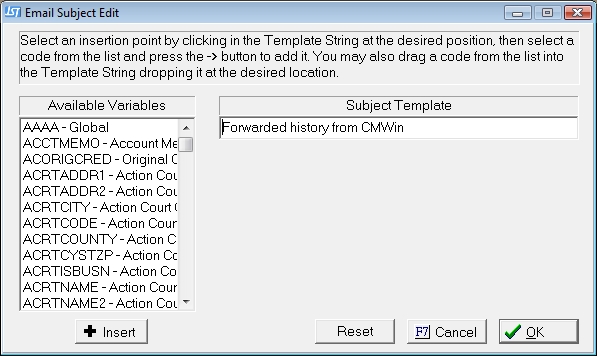
In the Subject Template Section, enter any words that you would like used in the email's subject line. To insert variables in the subject line, put your cursor in the subject line where the variable needs to be inserted, find the variable in the Available Variables List and click the  button or drag the variables and drop it into the Subject Template line.
Once you have set the Subject for this Client click the  button to save. Each time a history email is sent for this Client this subject will be used.
To modify the Body of the Email, click the button next to MsgBody to display the edit the Message Body Screen.
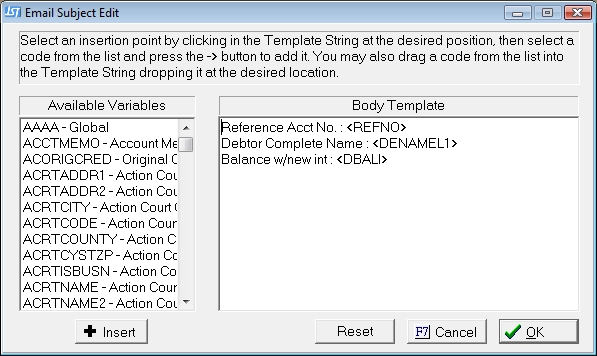
In the Body Template Section, enter any words that you would like used in the email's body. To insert variables in the body, put your cursor in the subject line where the variable needs to be inserted, find the variable in the Available Variables List and click the button or drag the variables and drop it into the Message Body.
Once you have set the Message Body for this Client click the button to save. Each time a history email is sent for this Client the email message body will be populated with this body template.
The message body will be added to the email after the history note, if you would like it to appear before the history note, check the  box .
box .
Click the  button to save the Client Override settings.
Select the Image Email Options from the Process Type list.
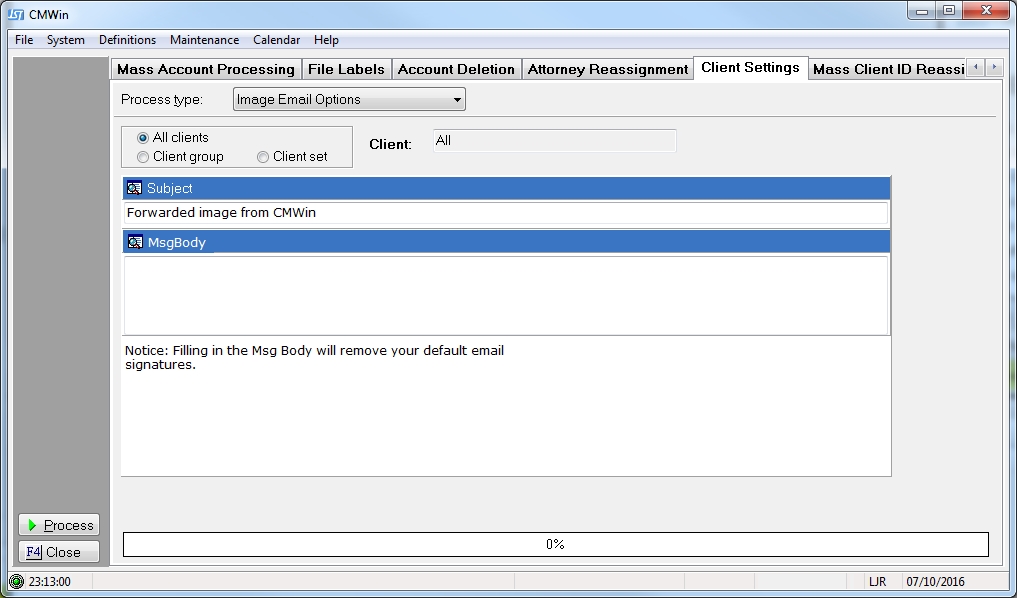
Select to set the settings for All Client, a Group or a Set.
Note: If selecting All Clients, you do not need to do a Batch Process. See Image Email Options for how to set the default email settings.
To modify the Subject Line of the Email, click the button next to Subject to display the Email Subject Edit Screen.
In the Subject Template Section, enter any words that you would like used in the email's subject line. To insert variables in the subject line, put your cursor in the subject line where the variable needs to be inserted, find the variable in the Available Variables List and click the button or drag the variables and drop it into the Subject Template line.
Once you have set the Subject for this Client click the button to save. Each time an Image email is sent for this Client this subject will be used.
To modify the Body of the Email, click the button next to MsgBody to display the edit the Message Body Screen.
In the Body Template Section, enter any words that you would like used in the email's body. To insert variables in the body, put your cursor in the subject line where the variable needs to be inserted, find the variable in the Available Variables List and click the button or drag the variables and drop it into the Message Body.
Once you have set the Message Body for this Client click the button to save. Each time an Image email is sent for this Client the email message body will be populated with this body template.
Click the button to save the Client Override settings.
Click the  button to update the selected client settings.